1999-00 SUBARU IMPREZA |
||||||||||||||||||||
|
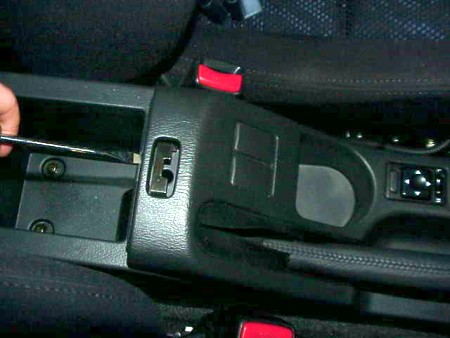
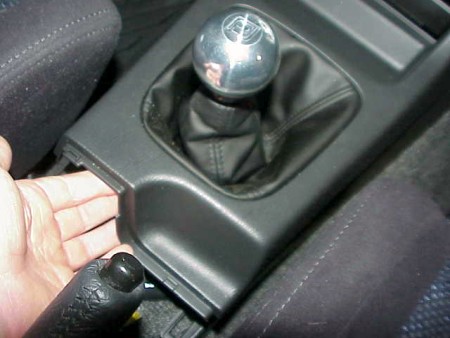
1. Unscrew the shift knob. It will not come off of boot until console is removed, but that's okay. Open the armrest cover and pry up the rear part of the center console. It's held by plastic clips and comes off pretty easily. |
|
|
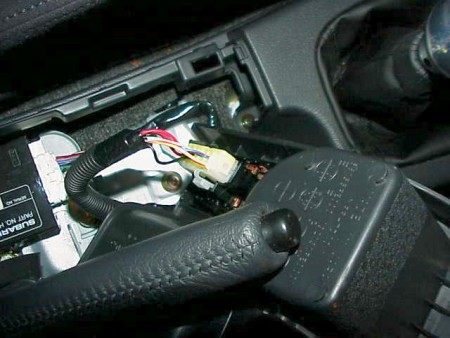
2. Unplug the power mirror connector. |
 |
|
3. Remove the front part of the center console. Just pry gently and it should remove. Don't use excessive force, if you come across an obstruction, figure it out, don't force it out. |
 |
|
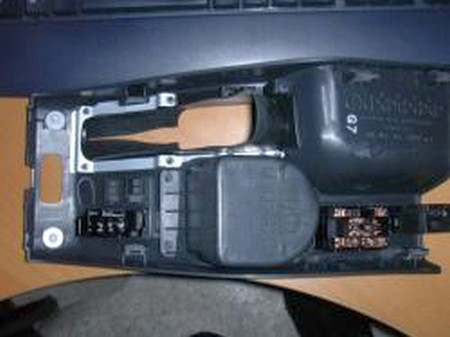
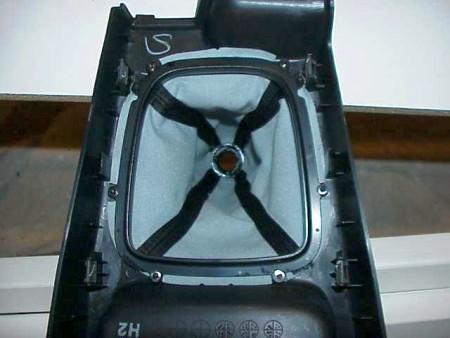
4. Boot is held in by a plastic frame and tiny metal rings on fragile plastic pegs. Use needle nose pliers to grab. They may bend but it's OK - they can be pounded flat with a hammer on your garage floor. |
 |
|
5. Once all the metal rings are removed, 6 of them, the boot and bracket are free. The boot is glued to the bracket. Shift knob requires very small screwdriver and a bit of prying to be freed off the boot. Install the new boot to the frame and the shift knob. The bottom can be just mounted between the frame and the center console, but you might want to apply some glue just to make sure it doesn't move around. |
 |
|
6. Once you have it looking like this, reinstall everything in the reverse order of disassembling. |
|
|
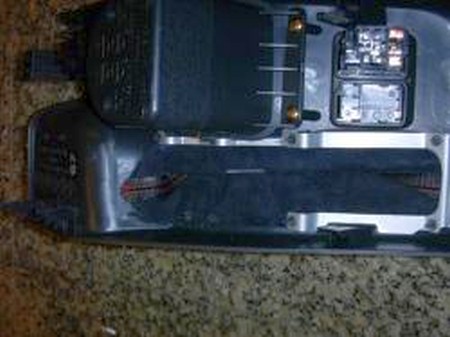
7. By now you should have the rear console popped off completely - or ready to be popped off. It's held by fasteners only, so to take it out all you need to do is pull it up gently. Again, make sure to remove all electrical connections as soon as you can access them. To get at the stock boot remove the cup holder, and then using small piers and a flat head screwdriver remove the fasteners that hold on the stock boot, carefull not to loose any. |
|
|
8. Install the new boot, you will need a hole punch or a sharp knife to make holes for it to
attach. Then |
|
|
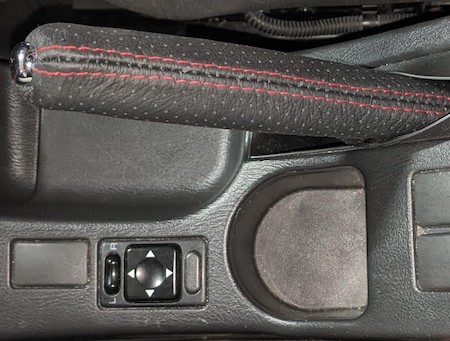
9. Reinstall the cup-holder. This is what your console should look like. Put it back in the car and you're done! |
|
|
CONGRATULATIONS - YOU HAVE SUCCESSFULLY INSTALLED YOUR NEW LEATHER BOOTS!
Useful tip You have installed a product made out of genuine leather. As you know, to maintain a leather product in good condition, you should take care of it. We suggest occasionally (every 4-6 week for example) applying some leather conditioner/UV protector to keep your leather from drying up in the sun and cracking. |
|
Subscribe to our newsletter to get an instant 20% discount!