2007-15 TOYOTA FJCRUISER |
||||||||||||||||||||||||||||||||||||||||||||||||||
|
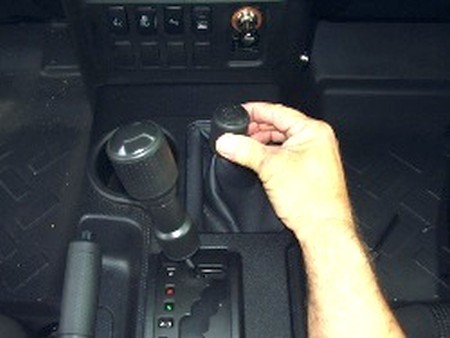
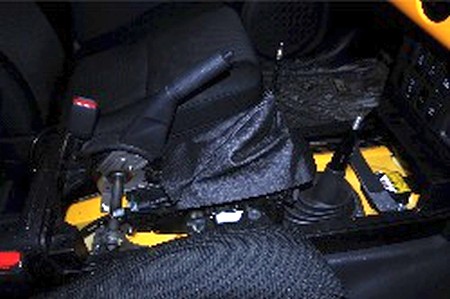
1. Remove the AT shift knob and the TC knob |
 |
|
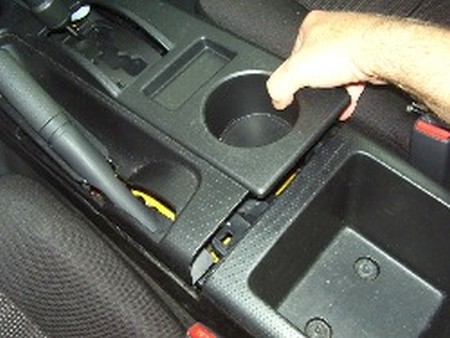
2. The upper part of the console will pop up with a tug on it - no tools needed |
 |
|
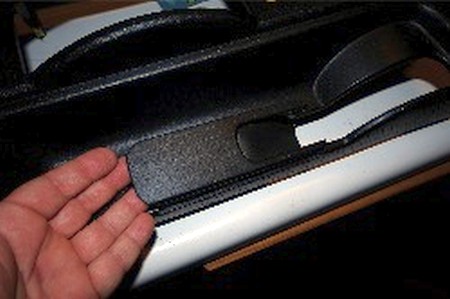
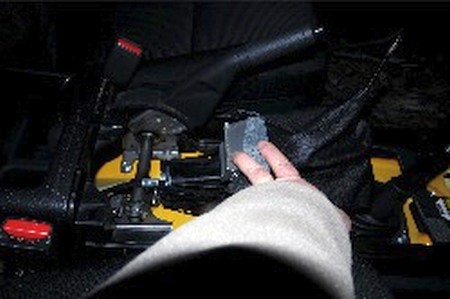
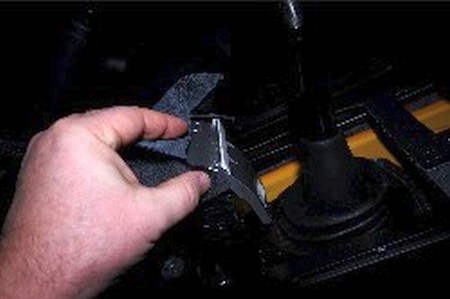
3. This is the leading trim piece for the hand brake you want to remove to get the console out. |
 |
|
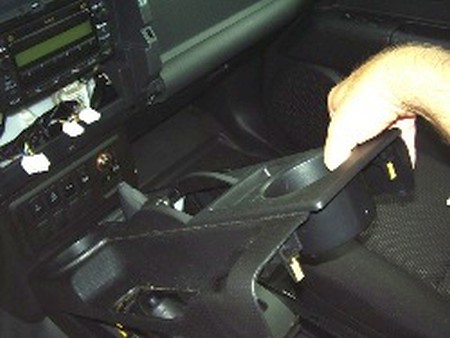
4. Pull the emergency brake up and remove the leading trim piece for the hand brake - pops right out. Lift the console and it’ll come out |
 |
|
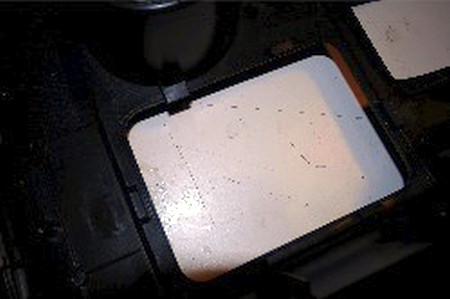
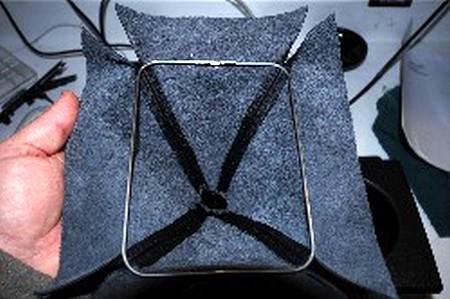
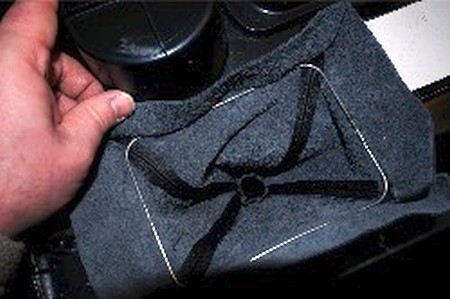
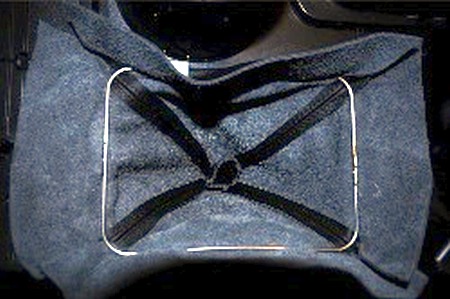
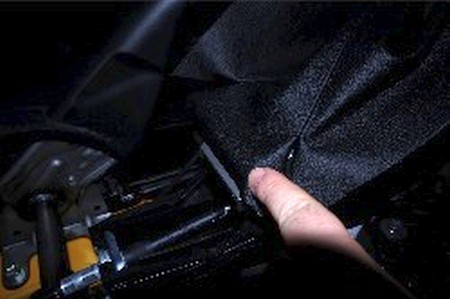
5. Once the console is out - this is what the underside of the TC boot looks like. Note there are tabs on either side. The vinyl boot is sewn to a metal ring that slips under the tabs holding it in place. One tab is larger than the rest - this means you’ll remove the spring ring on the opposite side. Before doing that - remove the felt insulation - it’s sticky on one side - remove it carefully and you can reuse it easily. |
 |
|
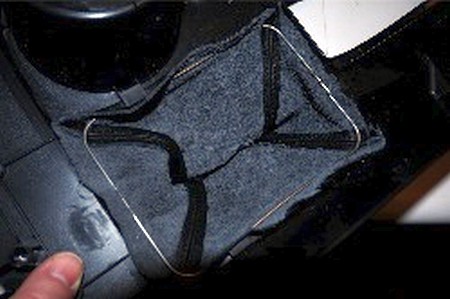
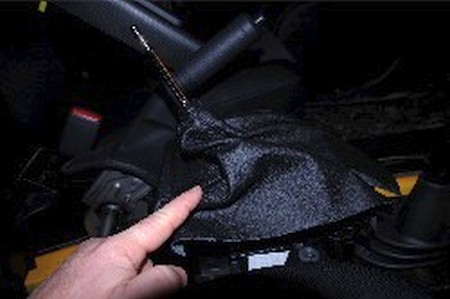
6. This is just a picture of the larger tab on one side - slip the leather and metal ring under this side and be sure it’s in all the way - work the opposite side to snap into place |
 |
|
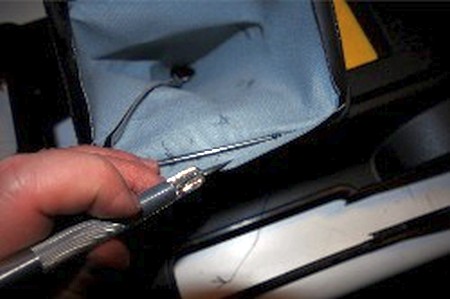
7. The vinyl TC boot is sewn to the metal ring - carefully cut the threads with an exacto knife and you can go back to the vinyl if you choose - all you really want is the metal ring. |
 |
|
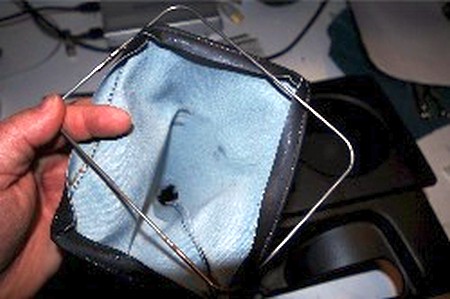
8. The metal ring described |
 |
|
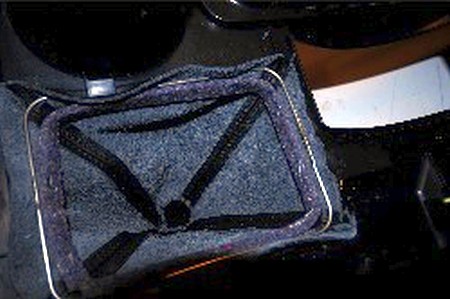
9. Lay the leather boot in the TC opening and place the ring over the top |
 |
|
10. Note that the leather is thicker tan the vinyl so this won’t pop right in - I’d use a wide flat edge screwdriver to help pop it into place. Line up the boot so the sewn stitching is roughly where the opening of the console is. |
 |
|
11. With the extra leather folded in - you can see there is more here than needed. I used a sharp scissors and exacto knife to trim the excess leather. Note be careful in this step too much force and the boot will dislodge, or you may cut the leather boot. |
 |
|
12. The excess leather cut away |
 |
|
13. TC boot in place. |
 |
|
14. Moving on to the AT shifter - this is a bit tricker since no boot was in place previously. All that’s required is two pieces of double faced tape to hold the boot in place. |
 |
|
15. I used double faced tape at either end of the silver plate to stick the leather boot in place on the fore and aft portions of the silver gate |
 |
|
16. This is the rear of the gated shifter with tape in place and boot stuck to it |
 |
|
17. The front of the gated shifter that will be taped |
 |
|
18. Note the bulk of the leather - needed because the shifter moves relatively far from far forward Park to far rear Low 1 - the excess on the sides of the shifter can be trimmed - I left them - they don’t get in the way |
 |
|
19. This is the front of the gated shifter I am going to tape |
 |
|
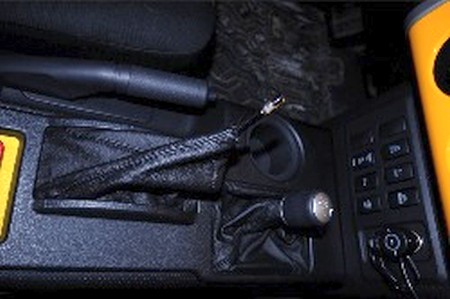
20. Once the leading edge and back edge are taped you can return the console to it’s position. There is plenty of space between the shifter plate and the console to allow for the leather |
 |
|
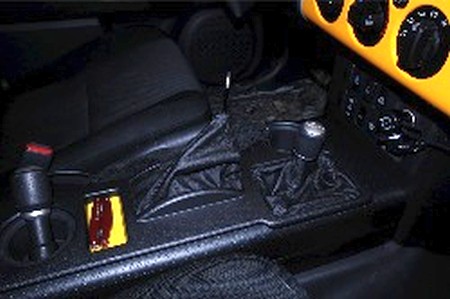
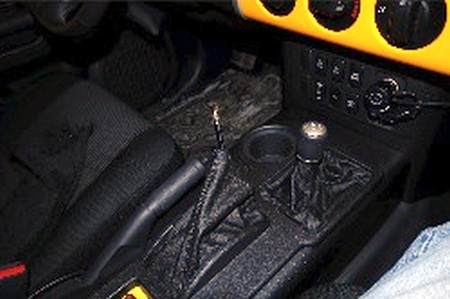
21. Both boots in place |
 |
|
22. Reinstall everything and you're done :) |
 |
|
ENJOY YOUR NEW LEATHER BOOTS! |
|
|
Useful tip You have installed a product made out of genuine leather. As you know, to maintain a leather product in good condition, you should take care of it. We suggest occasionally (every 4-6 week for example) applying some leather conditioner/UV protector to keep your leather from drying up in the sun and cracking. |
|
Subscribe to our newsletter to get an instant 20% discount!