1996-00 MITSUBISHI LANCER EVO 4/5/6 |
||||||||||||||||||||||||
|
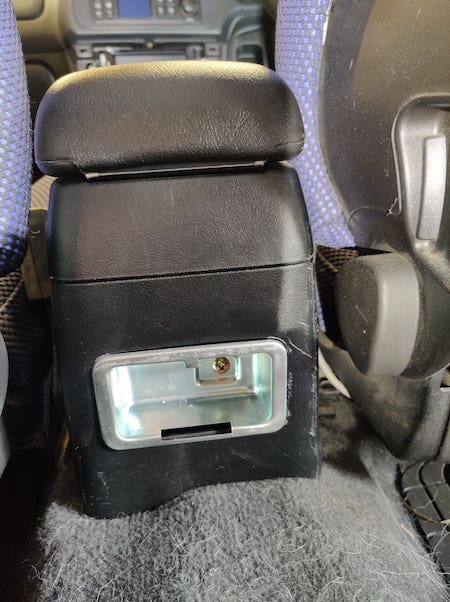
1. Start by removing the rear ashtray by pushing down on the tab to remove the tray flap, exposing one screw, and unscrew to remove. |
|
|
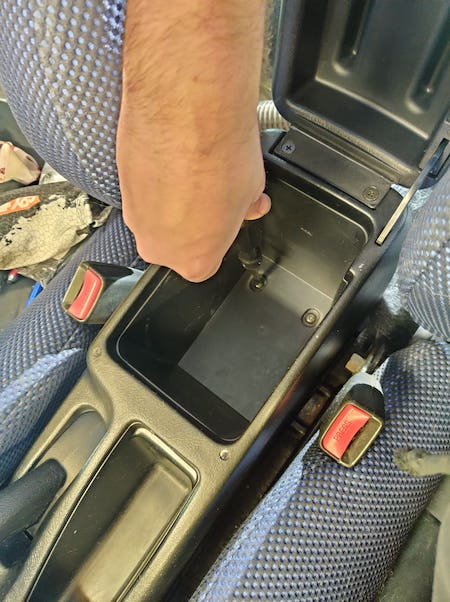
2. Open the center console storage and remove two screws in the bottom. |
 |
|
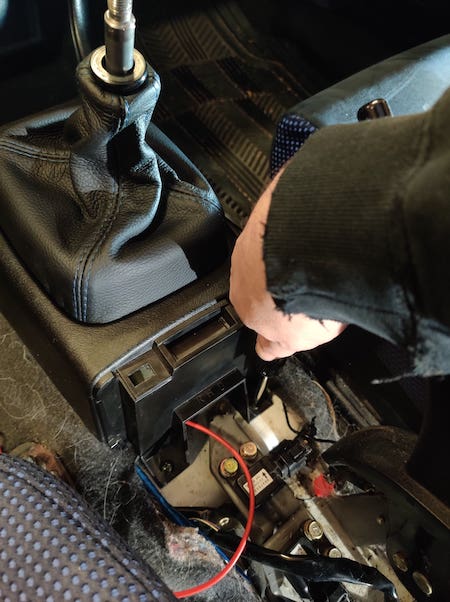
3. Now pull up near the ebrake to pop the two clips holding down the front of the armrest plastic trim. Flip the whole armrest plastic forward, and undo the electrical clip for the intercooler spray. |
 |
|
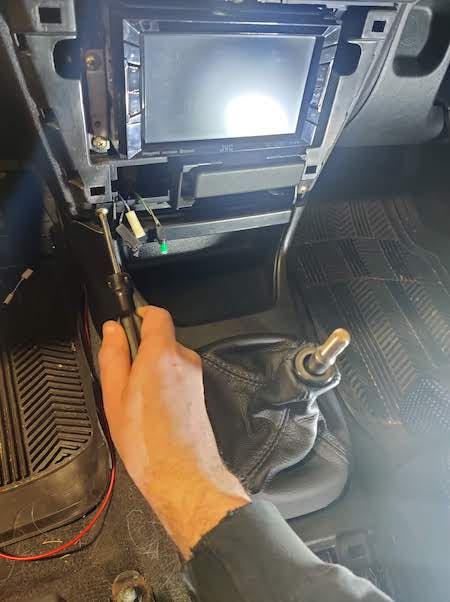
4. Remove stereo trim by pulling on all four corners, which is held in by clips. Unplug 2 electrical connectors from cigarette lighter, and twist bulb to remove from lighter. |
 |
|
5. Undo 6 screws found on the shift boot center console- 2 at the rear... |
|
|
6. ... two at the front near the cup holders ... |
|
|
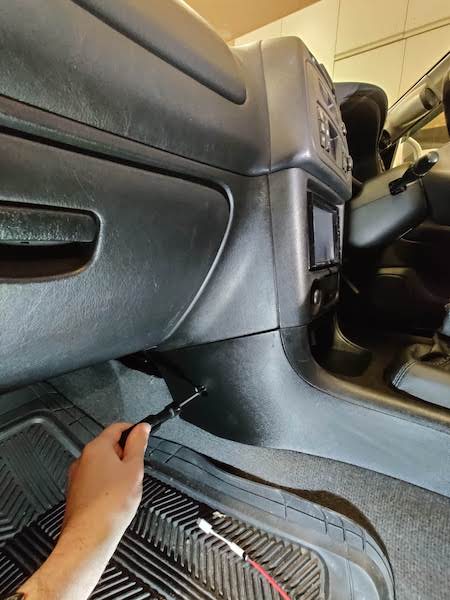
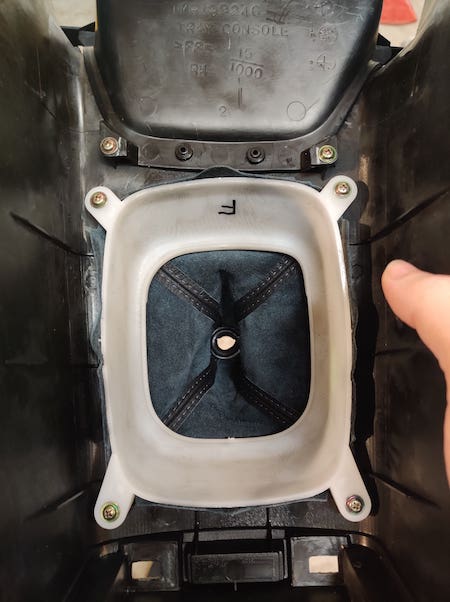
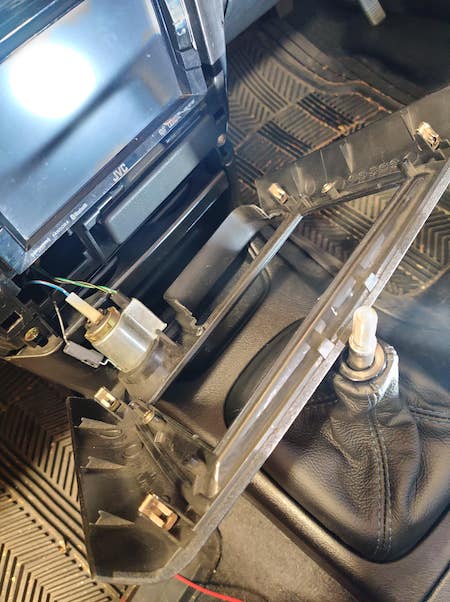
7. ... and two on the side near the footwell. Unscrew shift boot and lift console with shift boot out. |
|
|
8. Flip the console over and undo the 4 screws holding the white plastic to the console. Now the existing shift boot can be removed from this white plastic. It is held on by light glue. |
|
|
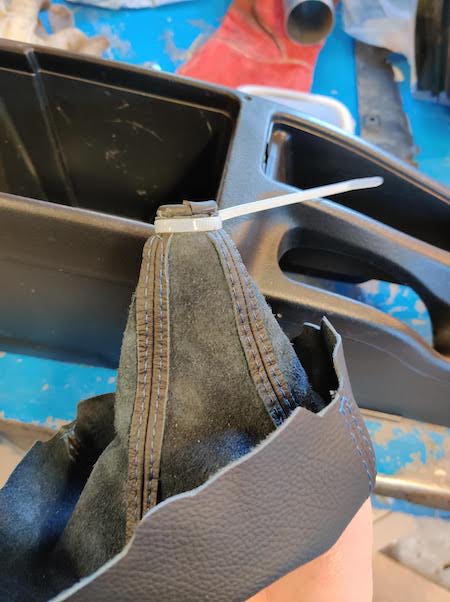
9. Simply pull the shift boot from the plastic. Turn the boot inside out and remove the shift boot collar that is held on by a zip tie. |
|
|
10. Turn the new boot inside out and install the collar onto the boot with a new zip tie. |
|
|
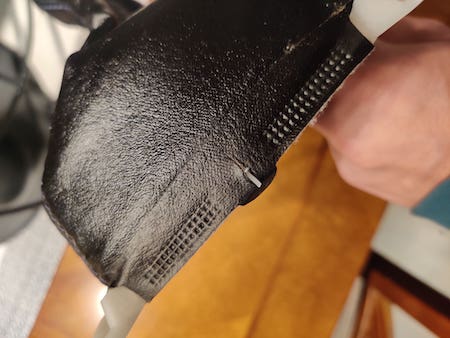
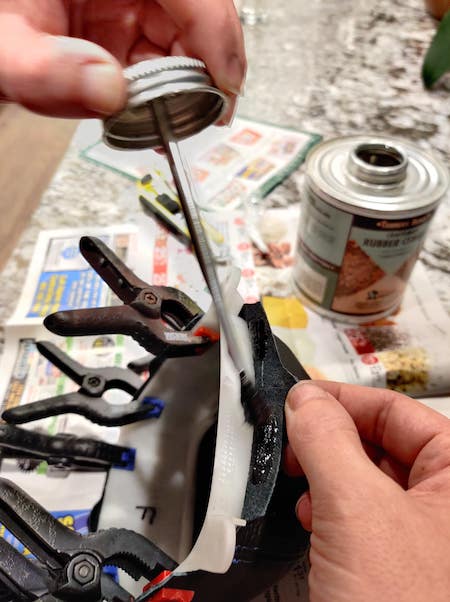
11. The new boot can be installed onto the white plastic in multiple ways, including gluing, stitching, taping, or potentially only by the plastic tabs and it being pinched between the white plastic and the center console. I chose to use rubber cement made for leather bonding. 4 small slits will need to be cut into the leather for the tabs to hook onto. |
|
|
CONGRATULATIONS - YOU HAVE SUCCESSFULLY INSTALLED YOUR NEW LEATHER BOOTS!
Useful tip You have installed a product made out of genuine leather. As you know, to maintain a leather product in good condition, you should take care of it. We suggest occasionally (every 4-6 week for example) applying some leather conditioner/UV protector to keep your leather from drying up in the sun and cracking. |
|
Subscribe to our newsletter to get an instant 20% discount!