2015-23 DODGE CHALLENGER |
||||||||||||||||
|
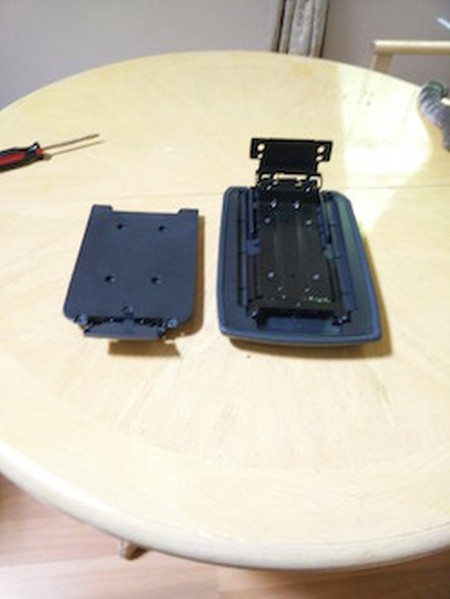
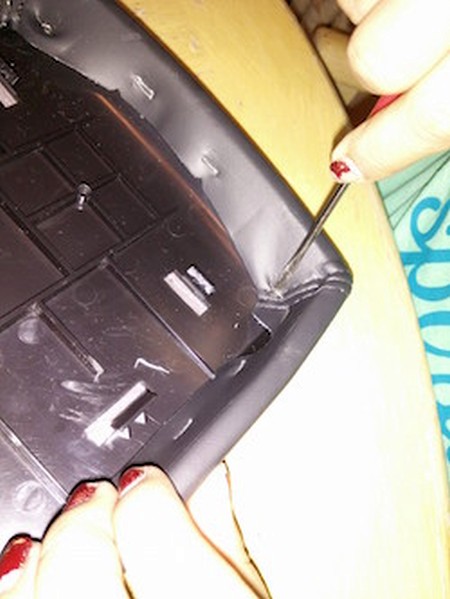
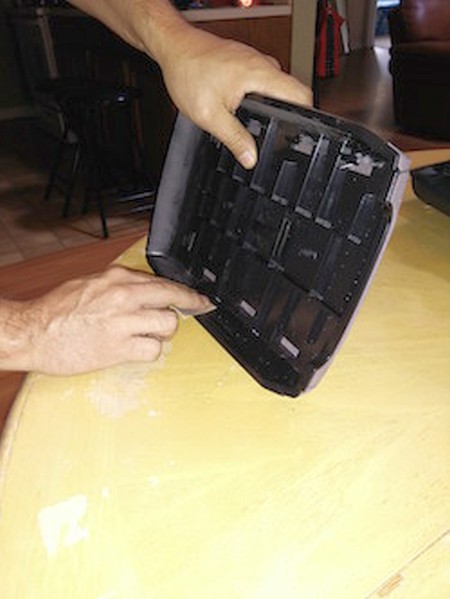
1. Open the armrest. Use a small pry tool to pry off the bottom of the lid - it will pop off to show mounting screws. Remove those screws to take it off the car. |
|
|
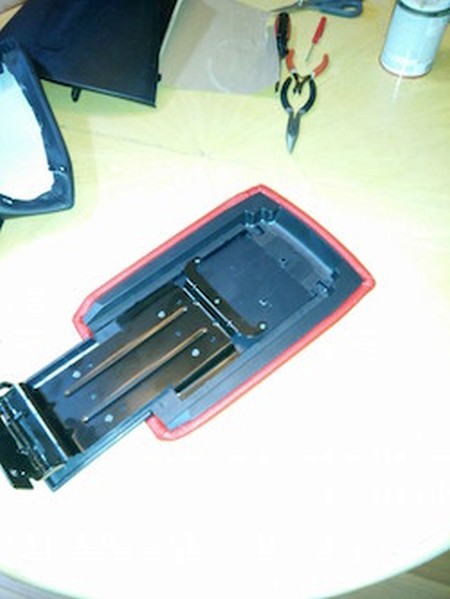
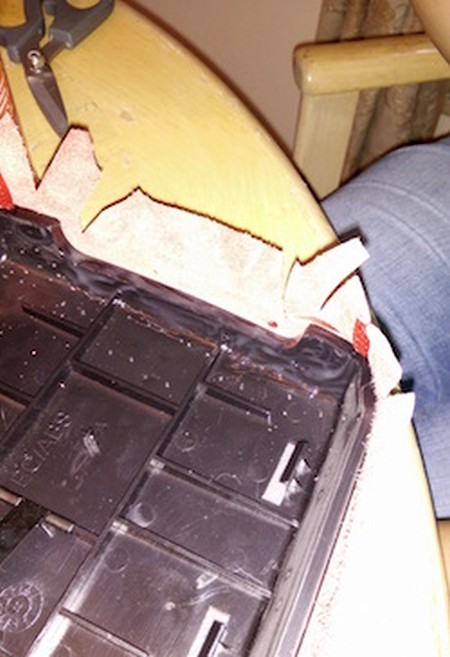
6. Once the lower half is removed you can now see the staples used to attach the leather to the plastic frame. Remove all the staples from the leather and remove the leather from the frame. |
|
|
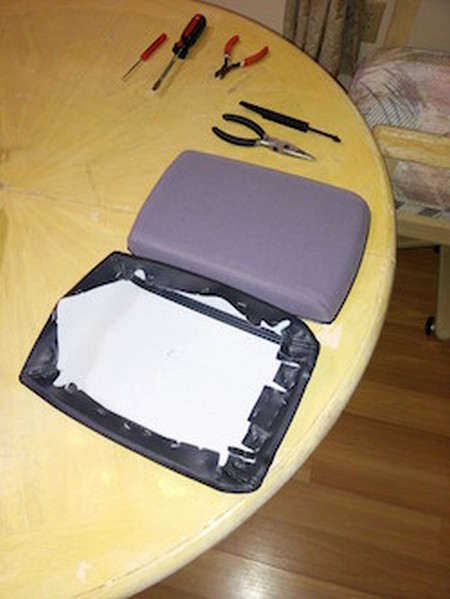
7. After the leather is removed leave the original foam intact as you will use this under your new leather. |
 |
|
8. Since you will be using contact cement for this application so surface preparation is required. Sand all contact surfaces to insure proper adhesion. Once completed test fit your leather cover and adjust accordingly. |
 |
|
9. Use the original leather cover to get an idea where your cuts will be. The cuts are necessary so that the leather will not excessively overlap and bunch up. |
 |
|
10. Apply the adhesive to the contact points and allow 2-3 minutes for the glue to cure before adhering leather to plastic. If applied too early the glue will saturate into the leather and will not adhere. |
 |
|
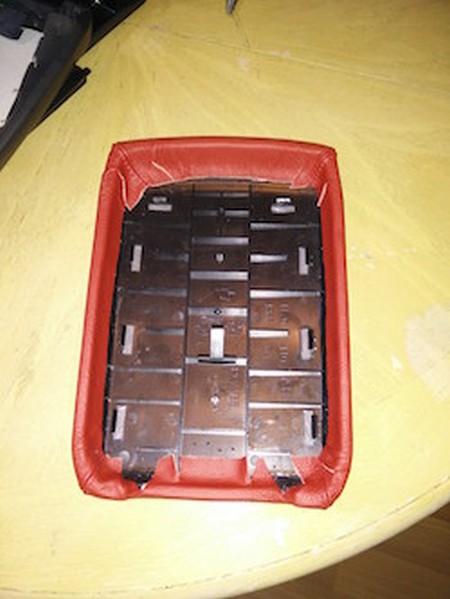
11. Once complete allow glue to dry then reassemble in reverse order. |
|
|
CONGRATULATIONS - YOU HAVE SUCCESSFULLY INSTALLED YOUR NEW LEATHER BOOTS!
Useful tip You have installed a product made out of genuine leather. As you know, to maintain a leather product in good condition, you should take care of it. We suggest occasionally (every 4-6 week for example) applying some leather conditioner/UV protector to keep your leather from drying up in the sun and cracking. |
|
Please subscribe to our newsletter.
Get an instant 20% discount and enter our montly $100 CASH sweepstakes!