Installation of the steering wheel wraps is quite simple, in fact, although definitely doesn't appear so. But if you follow this write-up you will see that indeed, technically, it is quite simple.
Please watch the instructional videos from RedlineGoods if you haven't done so already, which will explain how to lace the new wrap on the steering wheel. Find them here.
SO, LET'S GET TO IT :) Please completely read directions starting to remove wheel.
Caution:
Comply with safety precautions!
Incorrect handling can activate airbag and result in injury.
Disconnect battery and cover negative pole or terminal.
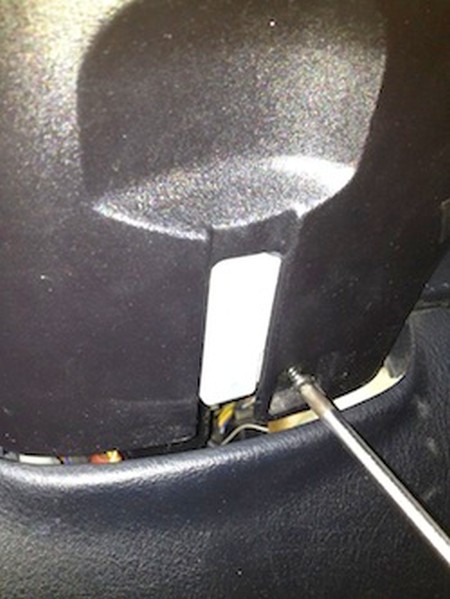
Unscrew screw from the under side of steering column trim. Gently pull the lower half of steering column casting off the upper section.
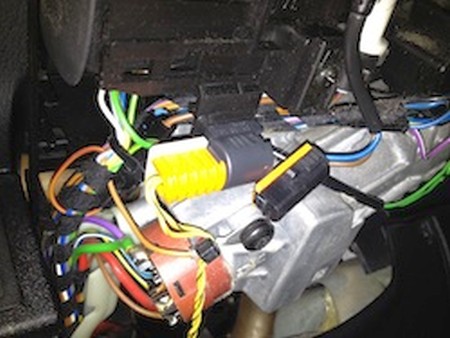
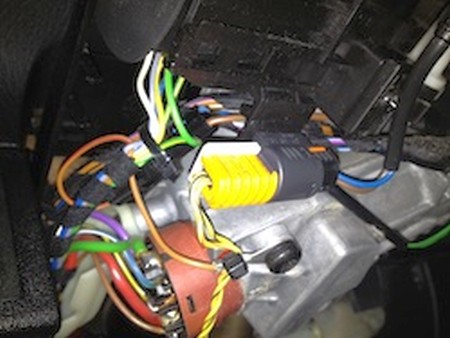
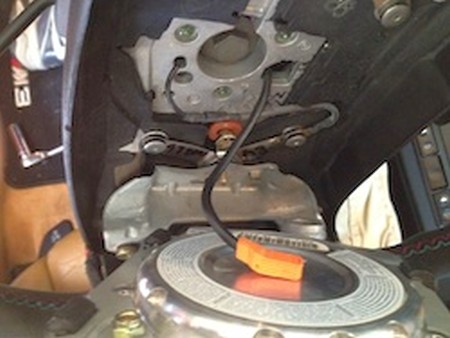
Unplug (orange) plug-in connection out of holder on steering column and disconnect. Be careful not to touch the plug contacts due to the possibility of static electricity discharging the airbag.
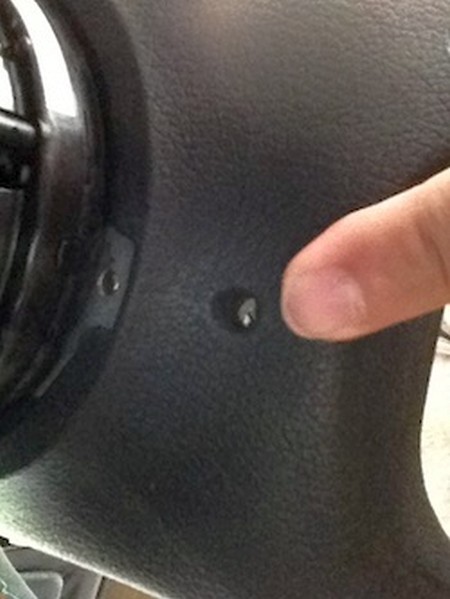
Remove the two T30 Torx bolts. The bolts are on left and right of the back of the steering wheel. The bolts will remain in the steering wheel
Tightening Torque: 8 NM (6ft lbs)
Once the two bolts are removed the air bag will pull apart from the steering wheel. Be careful to not pull the bag and the wheel apart forcefully as the airbag plug may break. To unplug, pull the orange plug straight out of the airbag. Once again do not touch the contacts of the airbag.
Once airbag has been removed cover the contacts of the airbag with a small piece of electrical tape to prevent accidental deployment.
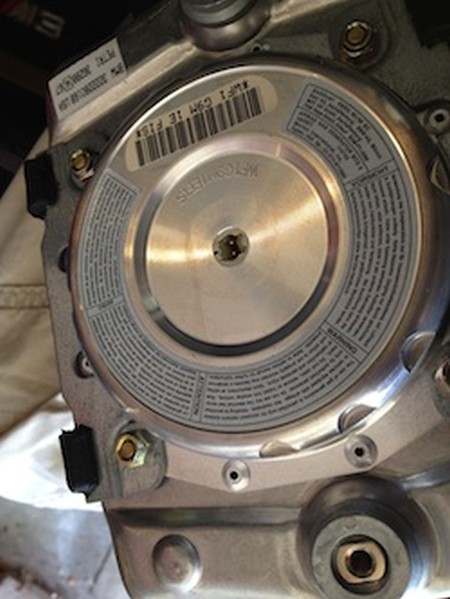
Caution: Airbag unit must be laid to one side (in luggage compartment) with the impact pad facing upwards.
Turn steering wheel to the straight ahead position (with wheels pointing straight forward) Unscrew nut or bolt. Do not remove wheel yet.
Installation note:
Tightening Torque
Nut 80 NM (59ft lbs)
Bolt 63 NM (46ft lbs)
Mark position of steering wheel relative to steering shaft using a paint pen or a permanent marker. Pull off steering wheel.
Note:
Loosing bolt activates spring clip which holds contact ring in center position. (Spring clip is white in color and is located at the 3 oÕclock position on the inside the steering wheel directly behind where airbag is.
Installation note: Lock pin (pin at approximately 2 o'clock position on steering column) must engage opening (inner most ring of slip ring at approximately the 11 o'clock position as viewed from back side of steering wheel)
Adjust contact ring if necessary: Press down spring (large tab at 3 o'clock position as viewed from back of steering wheel). Turn contact clockwise or counterclockwise as far as stop. Turn back about 3 turns until arrows for center position are aligned. Release spring.
Install the cover on the wheel as detailed in our installation videos.
Reverse previous steps to reinstall the wheel into the car and ENJOY! :)
Useful tip
You have installed a product made out of genuine leather. As you know, to maintain a leather product in good condition, you should take care of it. We suggest occasionally (every 4-6 week for example) applying some leather conditioner/UV protector to keep your leather from drying up in the sun and cracking.
Redline Automotive Accessories Corp. will not be held liable for any labor, incidental or consequential damages of any kind. Proceed at your own risk.